Monitoring Shipments With Saved Views
What is a Shipments Saved View? It is a way for you to save your most common searches and access them quickly every day. Tired of selecting the same combination of filters all the time? Save it. Have a search that is integral to your workflow? Save it. Convey recommends using Shipments Saved Views to save time.
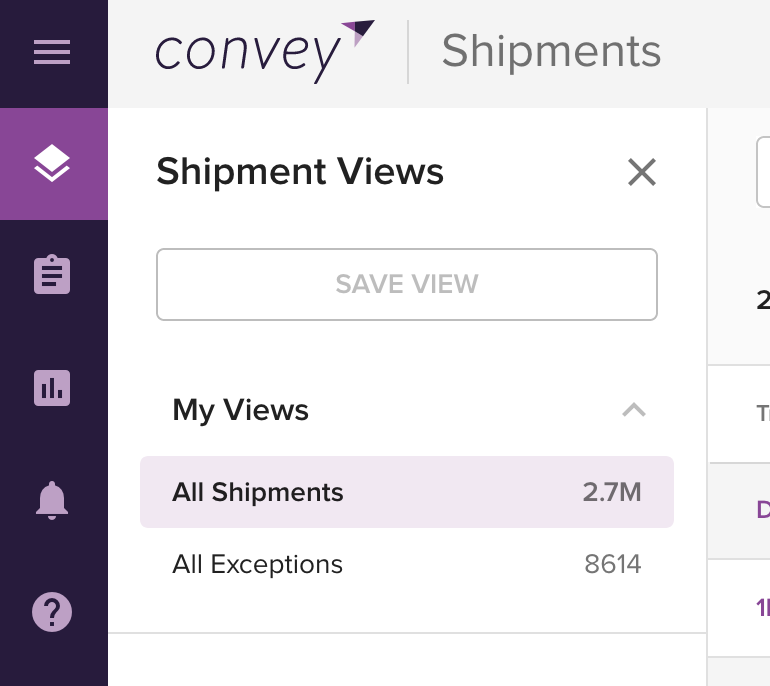
There are 2 default views that are always available at the top of Shipments with an additional option to create your own Custom Saved Views.
My Views (Default)
- All Shipments: Shows you all shipments created in the past 13 months, no matter the status. This is the default when you land on this page.
- All Exceptions: Shows you all of your shipments that currently have an Exception Type.
Saving New Views
Note: Custom Saved Views are available at the account level and can only be configured by users with the Account Admin user role.
-
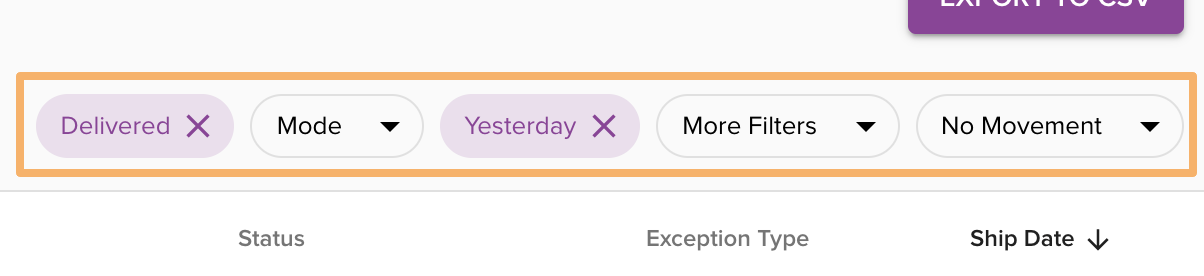
Use the filters to change what is displayed in the table on the Shipments or Cases page.
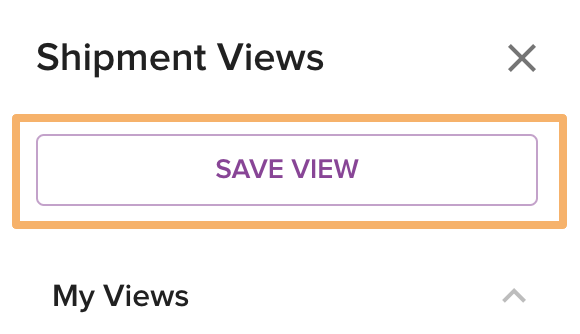
- Click the Save View button that will now be enabled in the left column of the page.
-
If you want to save over an existing custom view, choose the option to update that view and click save. If you want to create a new saved view, choose the second option.

-
If you chose to create a new saved view, complete the required name field and the other optional fields. If you have users with restricted content privileges in your account (ask your Customer Success Partner), you can make views only they can see. These may relate to sensitive cost information. The other optional field is Group Name. Group Names are a powerful way to group views by priority, teams or other workflows. Choose an existing group to save your view or click New Group to create a new one.
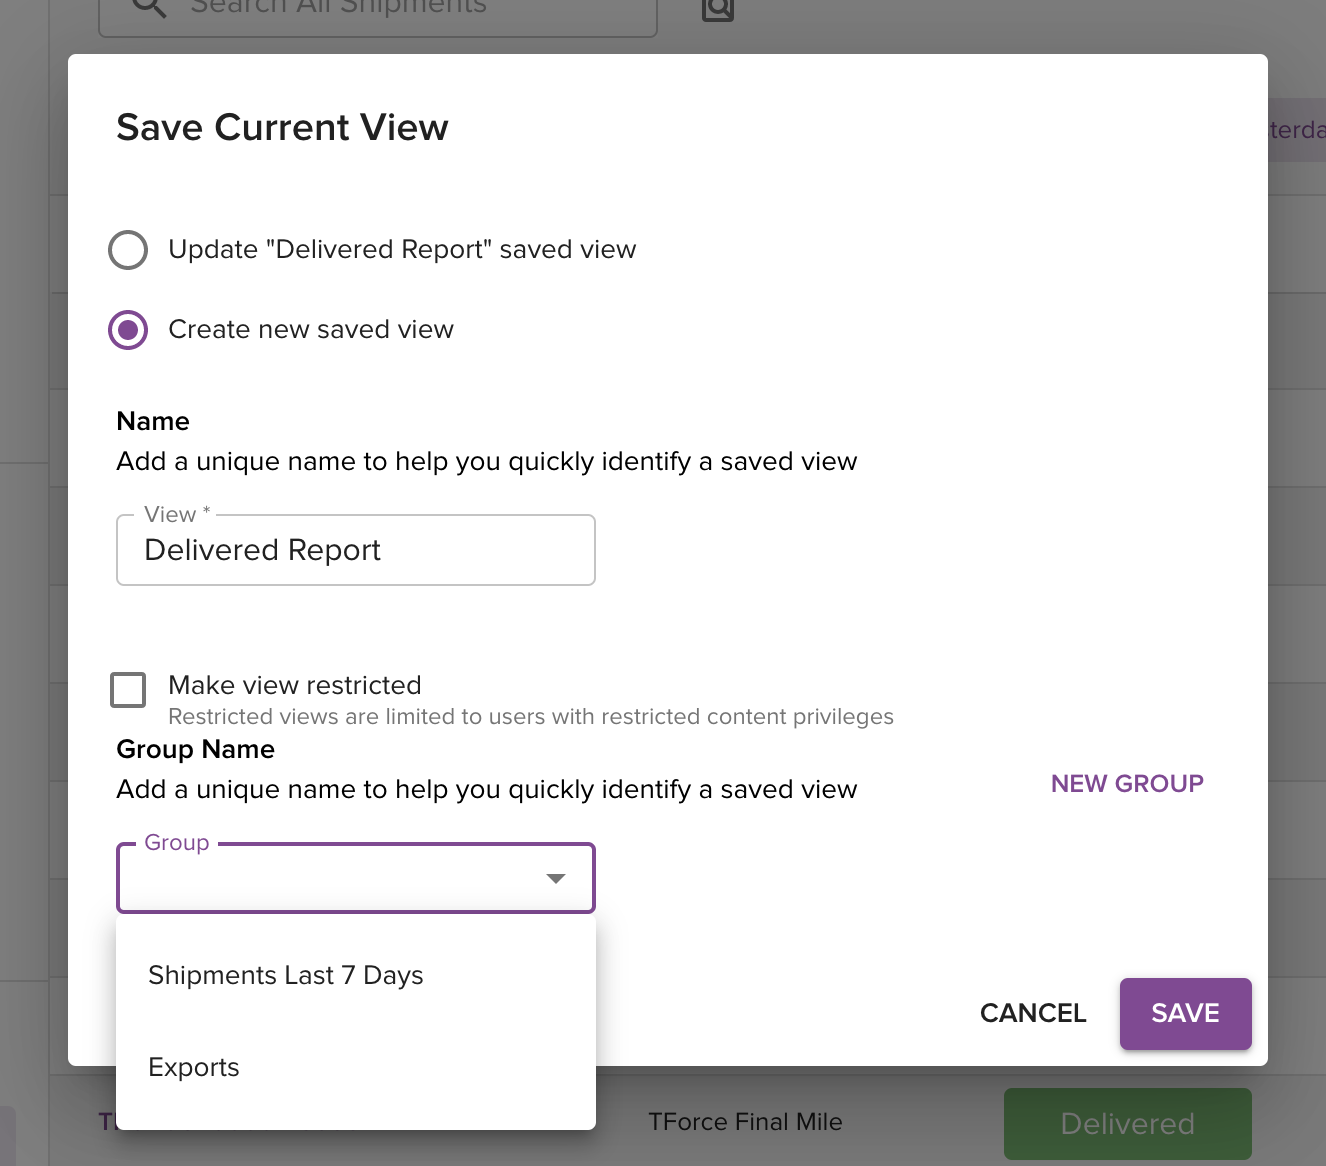
- Click save.
Renaming, Reordering and Deleting Your Custom Saved Views
-
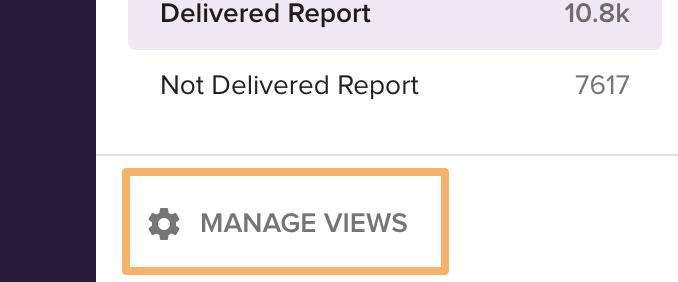
Click the Manage Views button located at the very bottom of the Saved Views column.
-
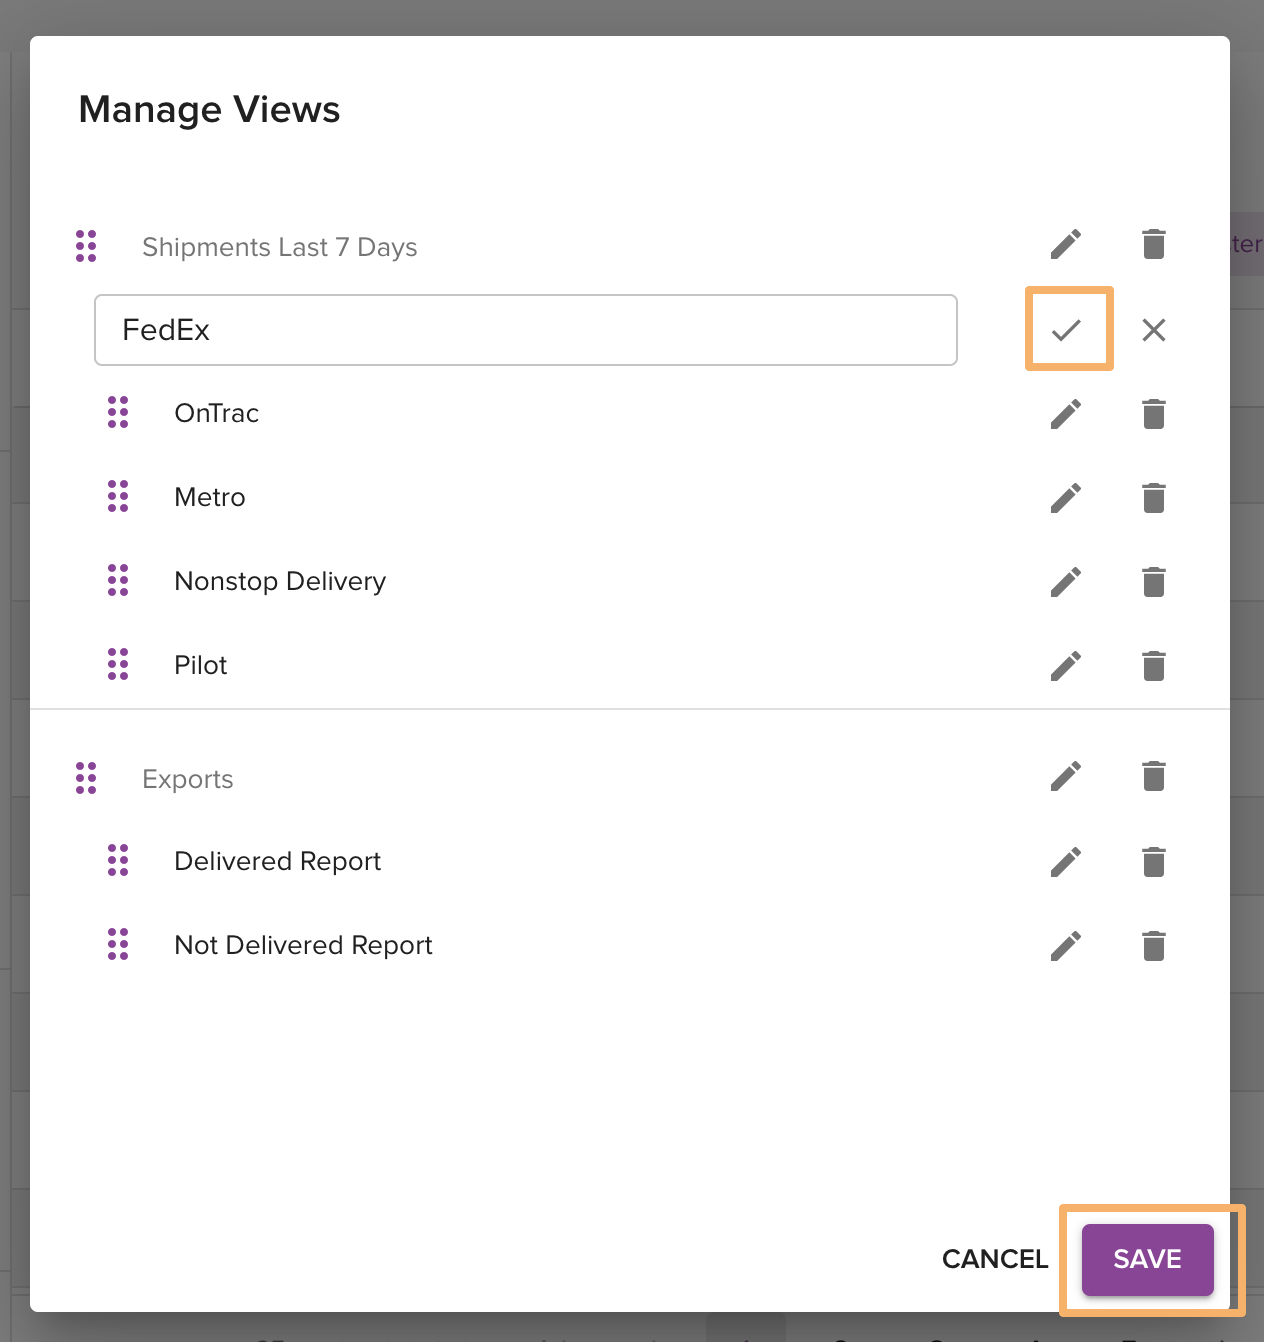
A dialogue will appear that allows users to reorder, edit or delete Saved Views. To reorder, click and hold the purple icon to the left of the view and drag and drop. To edit the name, click the pencil icon to the right. Note: Be sure to click the checkbox after editing to make sure it saves when clicking the Save button. To delete, click the trash icon to the right. When you’re happy with all of your edits, click the Save button.
Note: You must create a new Custom View in order to Create a New Group for Saved Views.